

If you weren’t a fan of real estate videos before, it’s time to hop on the bandwagon. It’s 2023 and property tours aren’t going anywhere. In fact, you can expect them to become the norm, with the demand of video content increasing year after year. For real estate agents, creating a listing video is crucial as it helps to increase online engagement, traffic, interest, and shares. Plus, 73% of homeowners say they are more likely to list with an agent who uses video (NAR).
A captivating listing video gives potential buyers an immersive, detailed look at a property, allowing them to envision themselves living there. It showcases the property’s best features, highlights its unique selling points, and can help set it apart from the competition. In fact, listings with property videos receive 400% more views than those without! That’s because a well-produced video can create an emotional connection with potential buyers by evoking feelings of warmth, comfort, or excitement.
The benefits of real estate property videos are clear, however not all listing tours are created equally. In fact, there’s an award-winning formula we’ve spent a decade perfecting to help agents like you get a better ROI from video marketing. We’ve distilled this formula into 10 steps that we’re sharing today. Buckle up!

Step 1: Start with a bang
The online space is filled with competitor content, brand ads, and distracting notifications. How can you make sure that your video gets watched before anything else your viewer sees on their device? The answer is simple. You need a hook that creates a lasting impression and encourages viewers to watch the video in its entirety.
Begin your video with an attention-grabbing opening that sets the tone for the rest of the video. This could be a stunning aerial shot of the property or an interesting fact about the neighborhood. If your property is a new build, you can begin with a time-lapse of its construction, as viewers love seeing the home-building process behind-the-scenes. In the example below, the property tour begins with a time-lapse of the city views, showcasing the transition from day to night. You can also share a personal story about the local community, neighbourhood highlights, or a joke to add humour!
(Read more: 6 Video Hooks to Gain More Online Views)
Step 2: Show off the property
Once you’ve hooked your viewers in, highlight the best features and unique selling points of your listing. You don’t have to showcase every single feature of the property, just the ones that are the most interesting to buyers. Real estate video tours don’t have to cover every corner and nook of the property; they can simply serve as an “appetizer” to entice buyers to book an in-person showing.
Include plenty of wide shots, as well as close-ups of any unique features or finishes, within your video. If you’ve opted for an agent presentation audio component or voiceover narration, make sure these are perfectly timed to what is being visually shown on screen.
When highlighting home features, don’t forget to include the benefit to buyers. Remember, they’re looking for a home, not just a house. A sunny, spacious backyard is cool, but when you share that it’s the perfect place for summer parties and entertaining guests, that same backyard is suddenly more valuable because of its emotional appeal.
Sona tip: Since buyers are searching for a home that supports their ideal lifestyle, you can even include footage of the local community. Aerial videos are a great media asset for showcasing the surrounding areas!

Step 3: Add a personal touch
Trust is a requirement in every single real estate transaction, and building trust requires being seen. Agent presentation add-ons are a fantastic way to add a personal touch to your listing videos, because the viewer familiarizes themselves with how you look, how you sound, and your overall personal “flavour” or “personality” as a realtor. In the example below, you can see how an agent presentation enhances the property tour and creates a human connection with the viewer.
It’s difficult for human beings to relate to robots or abstract entities, like faceless companies. That’s why we often try to speak with customer service agents (other human beings) instead of an automatic voice operator (robots) when seeking support.
People do business with people they like, know, and trust. How can your followers truly get to know you, your personality, and your essence if you’re never on camera? It’s 2023 and there’s no better way to add a personal touch to your videos than to be the face of them!
Sona tip: Are you camera-shy? No worries! It helps to write down your key speaking points, so you don’t forget them, which happens when you’re under pressure.
Step 4: Keep your video at the optimal length
We hate to break it to you, but no one wants to watch a 20-minute video about a single property. People are busy. Get to the point quickly and keep your video under 2 minutes if you can. Why 2 minutes, you ask? Well, there are a few reasons.
The first reason is that the average attention span of viewers is relatively short, and it becomes increasingly difficult to hold their attention as the video goes on. By keeping your video under 2 minutes, you can make sure that viewers stay engaged throughout the entire video. The more video completions you achieve, the more online algorithms boost your video to wider audiences, increasing your reach!
In addition, research has shown that viewers are more likely to retain information from a video that is shorter, as opposed to longer videos. By keeping your video under 2 minutes, you can ensure that your message will be more likely to be remembered. If you can convey all the key information in a concise and efficient manner, prospective buyers are more likely to request an in-person tour of the property for a complete picture.
Lastly, it’s important to consider the platforms you’ll share the video to (more on this later). Most social media platforms have a maximum video length, and these vary depending on which features you use. While you can host lengthy video property tours on traditional YouTube formats, they may not work as well on platforms renowned for snappy, get-to-the-point videos, like TikTok.
(Read more: 4 Reasons Why Your Marketing Strategy Needs Video Content)
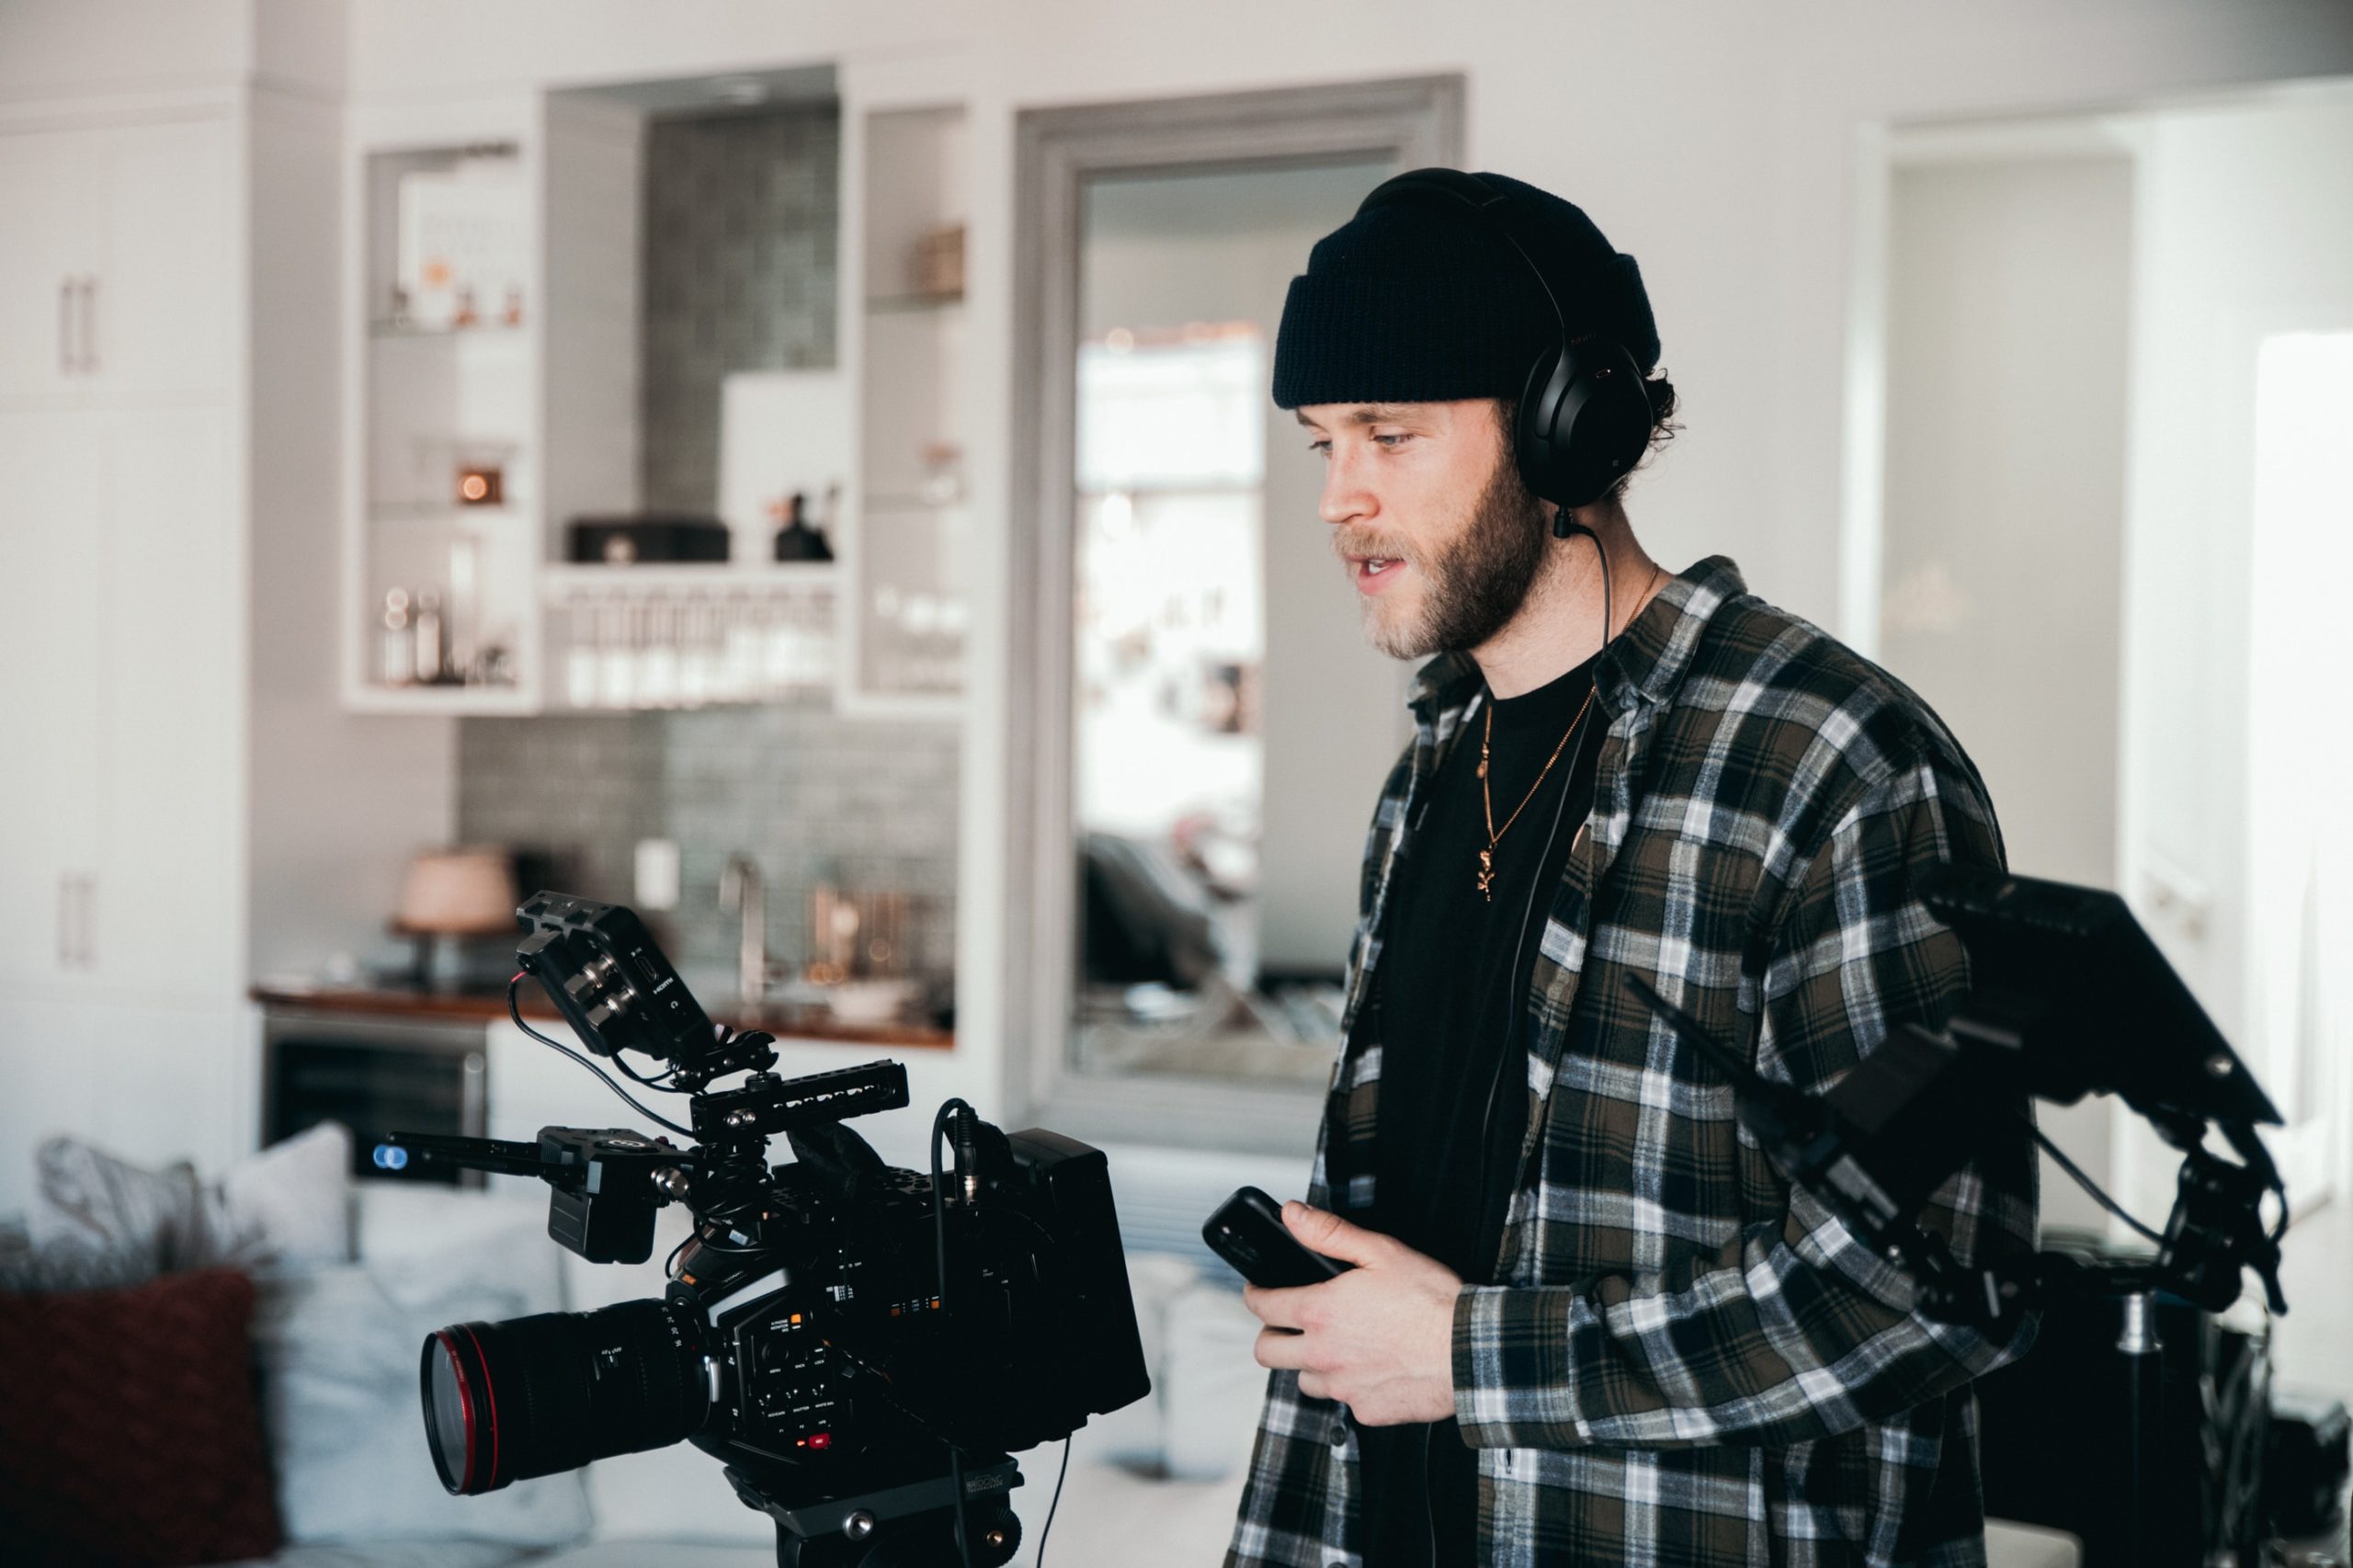
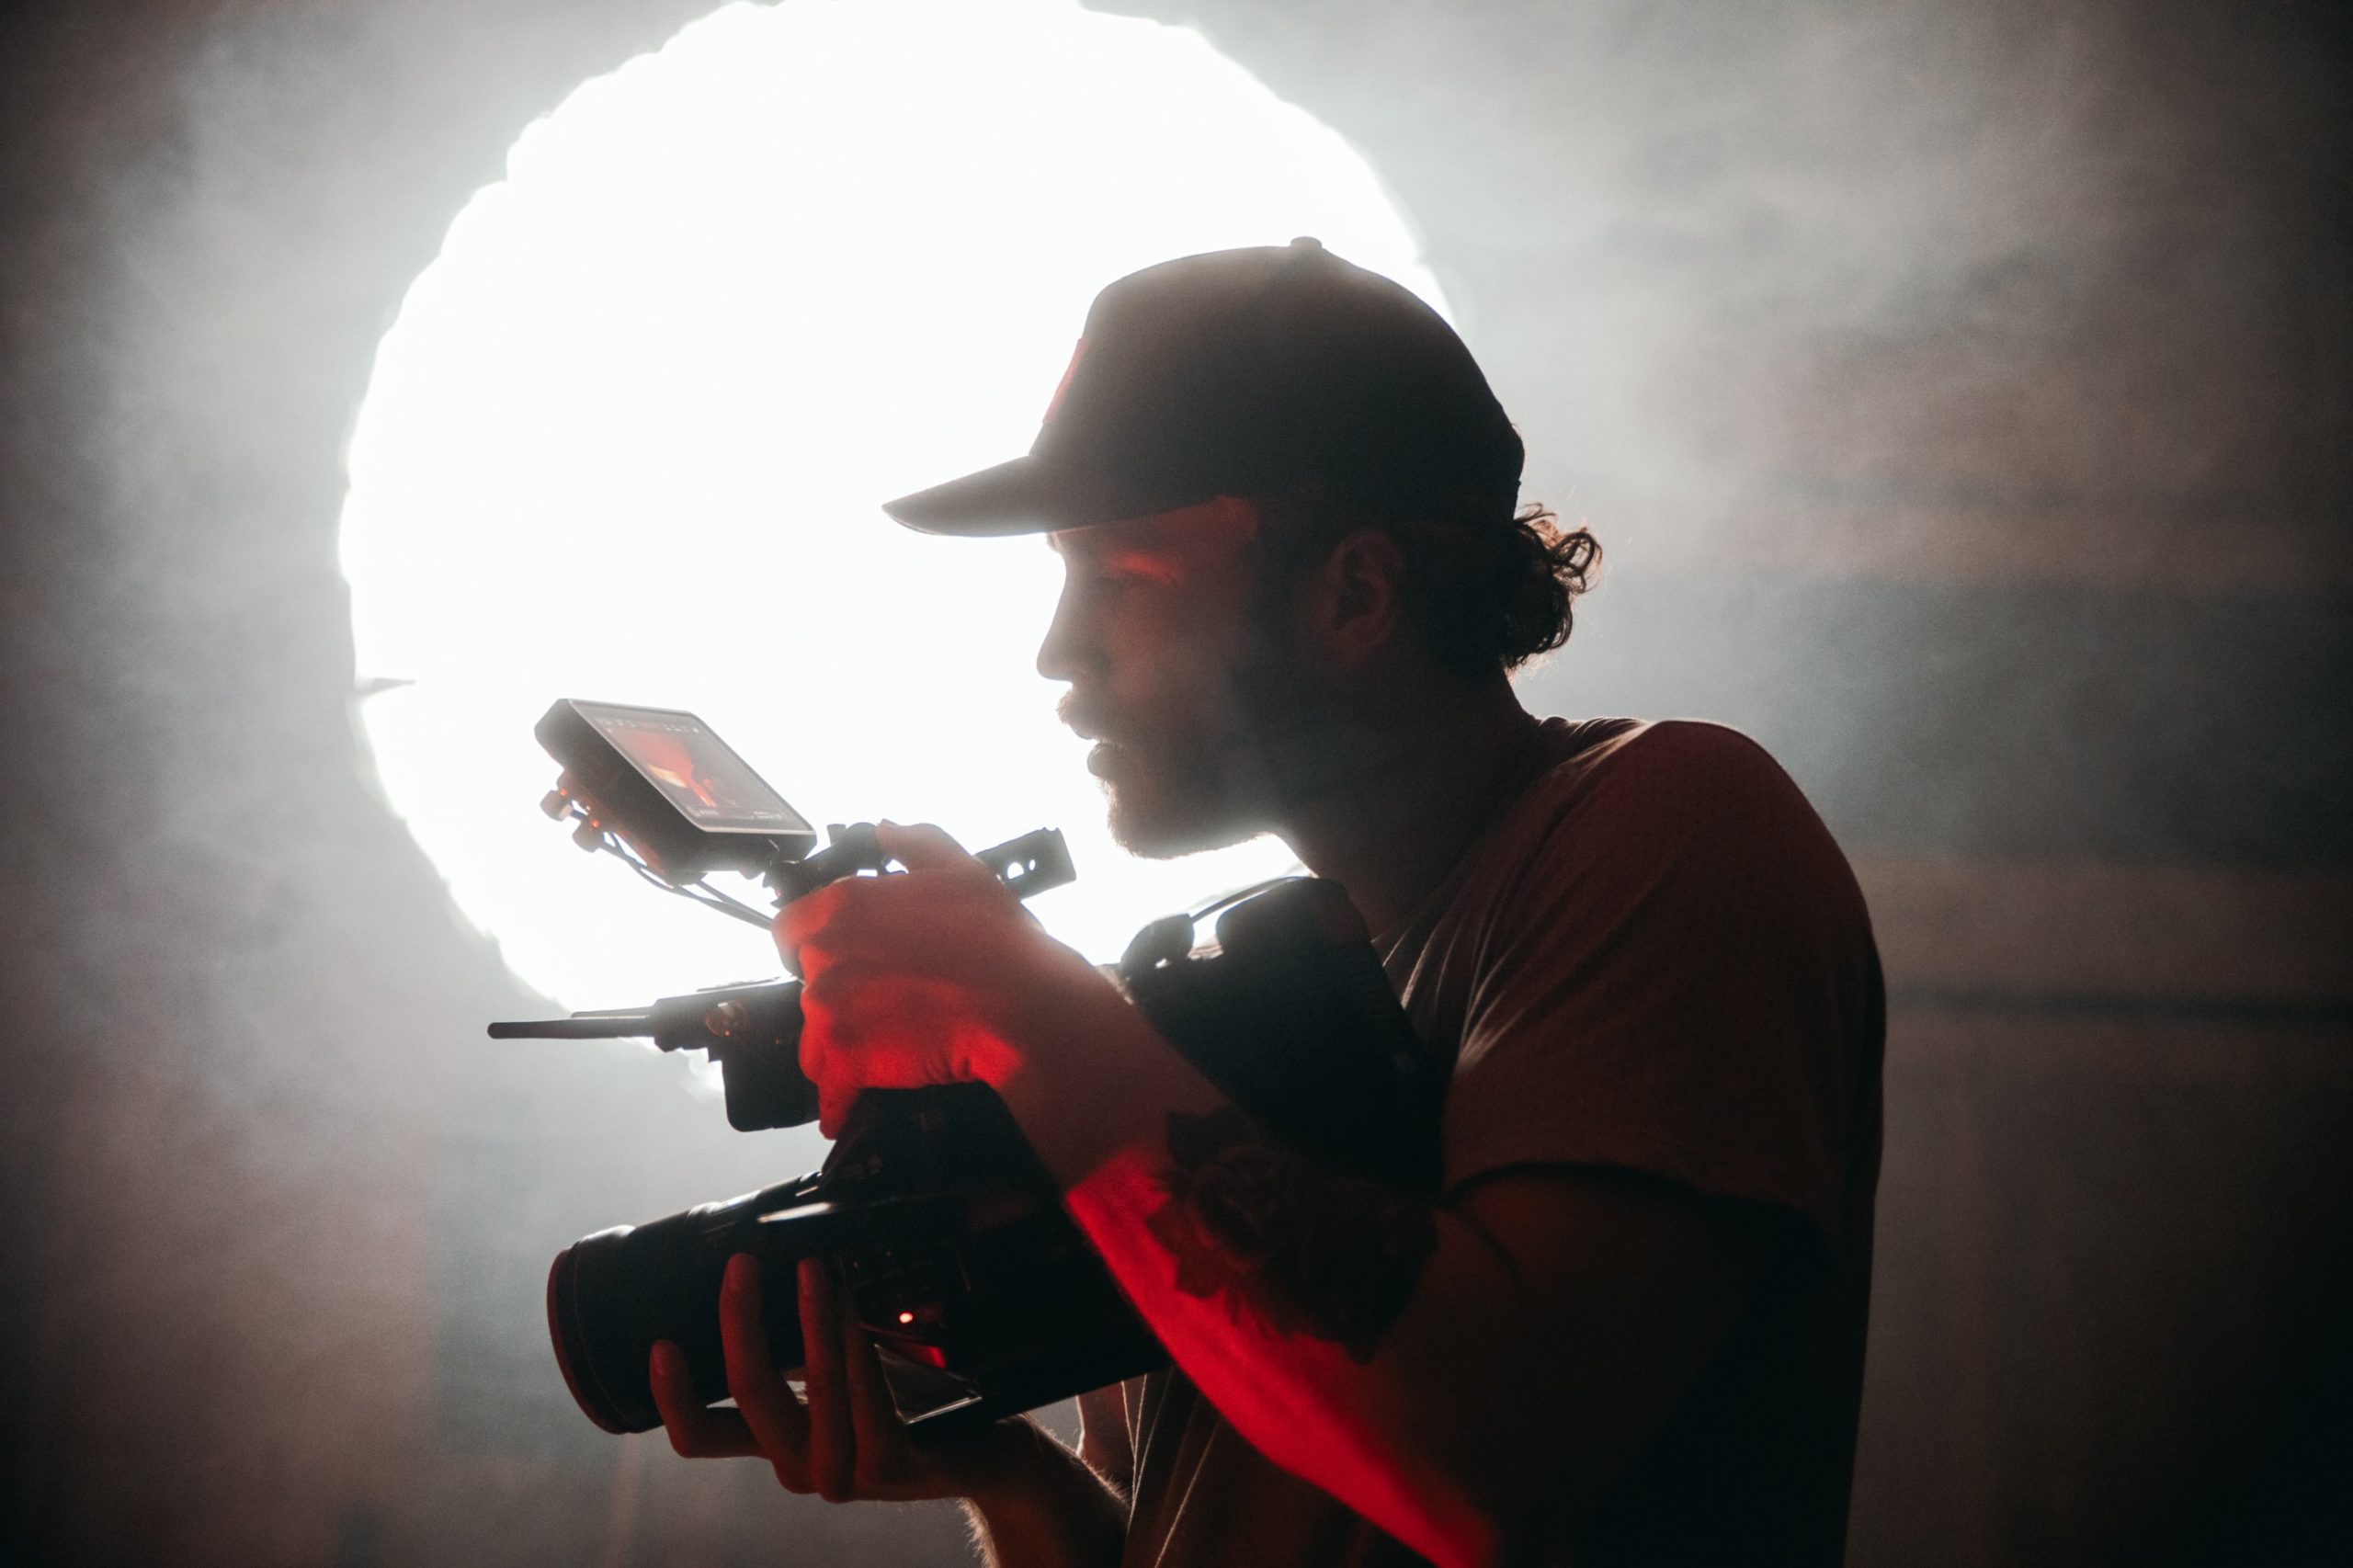
Step 5: Use professional-grade equipment
If you’re serious about attracting buyers, you must use high-quality equipment. We’re huge fans of the advancement of camera technology within smartphones, but unfortunately, they’re simply not enough to showcase properties in the best light.
Professional cameras, lighting, and audio equipment can capture high-quality footage, which gives you greater flexibility to shoot in different lighting conditions and locations. As you know, weather conditions and interior lighting fixtures can be sub-optimal, but these factors shouldn’t stop you from creating a video tour that converts. In fact, with professional equipment, you can shoot videos in a way that makes editing and post-production much easier.
Employing professional-grade equipment also benefits your brand, in addition to your listing itself. High-quality equipment increases the credibility of your videos and help to establish you as a professional in the real estate industry. Buyers are more likely to trust videos that are well-produced and professional-looking. Using professional equipment can also help you stand out from other realtors who may be using lower quality equipment. You’ll attract more sellers and win more listings because sellers want to partner with an agent who uses professional video marketing!

Step 6: Add music and sound effects
Music and sound effects can help set the mood and make your video more engaging. Ultimately, the key is to select music that creates the desired atmosphere, matches the aesthetic of the property, and complements the visuals of the video.
For example, if you’re listing a sophisticated luxury estate, ambient, jazz, or even classical music can evoke feelings of elegance. For more contemporary homes, electronic music presents a modern and upscale feel. On the other hand, if you’re listing a rural ranch property, instrumental country music may be a better choice. For properties with a rich history and character, cinematic music can evoke feelings of grandeur and drama. In the video example below, the upbeat, positive music perfectly captures the exciting feeling of a newly renovated home.
It’s very important to be mindful of copyright and licensing for background music. While selecting a trendy, Top 40 tune may be tempting, keep in mind that even remixes can be flagged for copyright violations on numerous online platforms, resulting in your property tour video being removed. Royalty-free music libraries, Creative Commons licensed music, and Public Domain music are all resources you may use to find background tunes. You can even source tracks from independent artists in exchange for a credit or a small fee.
Once you’re selected your soundtrack, send it to your video team as soon as possible, ideally before they even begin cutting the footage to create a final edit. Video editors time the visuals according to the beat or flow of the music, so it’s important they know what track they’re working with in advance. Selecting your tune as far in advance as possible prevents delays in your listing!
Sona tip: If you’ve opted for an agent presentation or voiceover narration for your video, make sure that the background music doesn’t overpower the speaking audio!
Step 7: Use text in your video
Remember that not everyone watching your video will have the sound turned on, so make sure to include captions and subtitles to ensure your message gets across. Plus, having captions and subtitles makes your content far more accessible to those who are hard of hearing. Videos posted with helpful text can help you boost your search engine discoverability and help online algorithms categorize your video, so it gets pushed to appropriate audiences. It’s a win-win-win!
Motion graphics are a stylish way to communicate key details, like property addresses, sizes, and more. They can be used to create eye-catching visual elements that can help to hold the viewer’s attention and make the video more engaging because of their movement. You can also use them for animations, diagrams, and infographics. You can even use them to incorporate your brand colours, typography, and logo to make your video more recognizable as part of your business.
Speaking of branding, you may choose to include branding materials and contact information at the end of your video. Provide your video team with all your pertinent details including your full name (or team name), brokerage, contact number and email, and your website that displays all your listings. If you have a logo and would like it used in the video, send it to your editing team in high resolution format, like .eps, .jpeg, .png, .pdf – ideally less than 1MB.

Step 8: Create a range of formats
Before you begin capturing the property, decide which online platforms you want to publish the video too. You may need to create several versions and export the file in various formats to suit your needs. For example, if you want to create a lengthy tour for YouTube and the MLS but want a “sneak peek” tour for Instagram Reels and TikTok, you’ll need to have the tools and execution to create a variety of footage. Some shots will require a landscape orientation, while others will require a portrait orientation, thereby changing the shot composition. In the example below, you’ll notice a vertical orientation because it’s a YouTube Short.
By creating different format videos, you can reach a wider audience, while tailoring your message to their specific needs and preferences. Different social media platforms and video sharing sites have different user “personalities” – demographics, interests, and behaviors of the user base. This can help you attract more potential buyers across a diversity of age ranges and backgrounds, generating more leads.
Over time, you’ll have the ability to analyze the performance of a collection of videos. You can test and refine different strategies, formats, and messaging to see what works best for your business. This clarity will help you improve your video marketing efforts over time, since you know what formats your target audience enjoys the most.
Step 9: Include a strong call-to-action
When creating listing property videos, it’s crucial to remember what’s it’s intended for. Ultimately, you either want the viewer to visit the listing page, book a showing, or call you for more information. Pick one of these end goals and tell the viewer directly what you want them to do.
Creating a call-to-action that converts is both art and a science. Here are a few tips to creating your own within your video:
- Keep it simple: Keep your call-to-action simple and easy to understand. Use clear and concise language that clearly communicates the action you want the viewer to take. And remember, pick just one call-to-action!
- Make it prominent: Make sure that your call-to-action is prominently displayed in the video. The motion graphics we mentioned previously will be especially helpful for this. Make sure it stands out visually. You can use brand colors and animations to draw attention to it.
- Use a sense of urgency: Use language that creates a sense of urgency. This encourage viewers to take immediate action. For example, you can use words like “now” and “today”.
- Repeat the call-to-action: Repeat the call-to-action throughout the video to ensure that the viewer has multiple opportunities to act. Repeating your call-to-action also helps viewers know the desired action even if they don’t watch the entire video.
- Use an end screen: Add an end screen with a clear call-to-action. This helps viewers focus on the desired task at hand. You can include links to your website, social media, or other relevant pages on a separate screen.

Step 10: Share the video everywhere
Once your video is complete, it’s time to share it. Your website, social media channels, and any other platforms you use to market your properties can host your video. Don’t forget to also share it directly in the MLS within your listing, too.
By having a presence on multiple platforms, you can reach a wider audience. A wider audience increases property visibility in the online market. That way, you’ll attract more potential clients and generate leads through multiple channels.
Sona tip: Don’t forget about cross-promotion! Drive traffic from one channel to another by linking your video within it. That way, your audience can find you on other platforms. You can link your social media accounts within your email newsletter, for example. You’ll gain a larger following of people who already love your content!
The Sona Standard
The best part about creating spectacular property videos is that you don’t have to do it all by yourself! Our award-winning video production service team can help you create stunning marketing assets for your listings. With cutting-edge technology and an experienced team, your videos will cut through the noise in today’s digital space. Feel free to get in touch with our team at [email protected] or (403) 980-9395 for a complimentary consultation.
P.S. – Looking for more property tour examples? Check out our YouTube channel or Instagram page!